Showing posts with label gratings. Show all posts

Wednesday, November 18, 2015

Thursday, December 12, 2013

HMS Unicorn Build Log 10 - Ladder Stanchion Making

Ladder Stanchion Making

I've finally put my ladder's stanchions on, and it's the first rigging done for this build. :D I first drilled holes at the 4 corners, and put the stanchions on which I already blacken.


My plan was to add two platforms for the stanchions at the end of the ladder, so that when the rigging is done I'll just need to put the whole completed piece to the deck. But when I done the platform, it didn't look good. The platforms seem like an extra piece of wood below the stanchions. So, I changed my mind to directly stick them on to the orlop. 

The challenge of this is I'll need to drill through the little ladder hole, and glue the stanchion on, and make sure it's in the correct direction. After sometimes of squeezing and twisting, I finally managed to fit the first one on. And of course, the knot is already done before I put it in. :)


Here comes the challenging part... I'll need to put the last stanchion to the orlop with the stopper knot tied. What I did is, I put the stanchion with thread to the orlop first, got a desired tension, and made a mark at the end of the stanchion. There will be the point where the stopper knot located.


Marking the end point with the ladder on is even tougher.. got it after few minutes. So, I took the stanchion out again and made that stopper knot, cut the end and glue it on the orlop.


The last stanchion as seen from top.


Group photo with the gratings. :) In this photo, I've already adjusted the tension of the thread to tighter above the deck, and those going into the orlop, looser. 


Thanks for viewing! :)

Wednesday, December 11, 2013

HMS Unicorn Build Log 9 - Bulwark Planking & Gratings

Bulwark Planking & Gratings

If referring to the HMS Unicorn (1824), the bulwark is painted to ocher green. But, since I don't have any green paint currently, I decided to paint them to red.


I did some sanding and tapering on the lowest plank to meet the deck's level, and pre-cut those wood strips between gun ports.


After the planking is done, I repainted them for a better finish. From the picture below, you can see that the beams are actually done too. Corel suggests to use the kit provided birch wood strip (4mm x 4mm), but instead, I used balsa. Birch strips are too nice for beam. :D


Then I started to drill holes for the eye bolts. I used an unused piece of plywood for more precise distance marking from the gun port. 


Done! And you can also see that the remaining deck planking is done too. :)


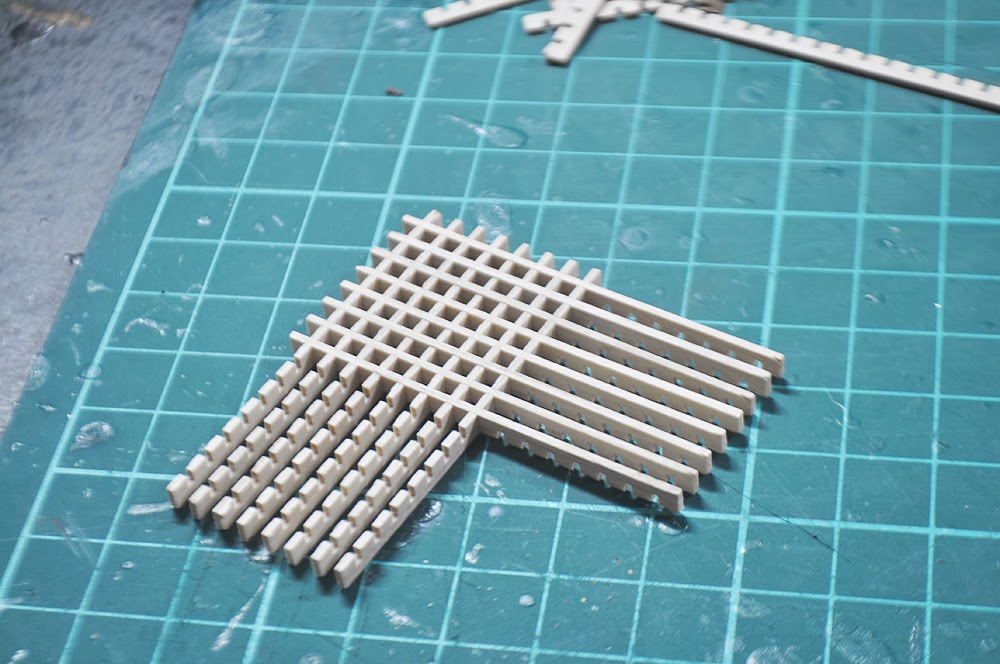
I continued to the gratings making on the same day. Gratings that provided by Corel is real bad in quality, so I purchased OcCre ones to replace them from CMB.


For the surrounds, I used 2mm x 3mm wood strips.


This is how my deck looks like now with gratings and ladder on. :) Also, treenails detail are added. I'm using the same technique as my Race Horse, which is chalked by using a mechanical pencil. :)


Thanks for viewing. :)

Sunday, May 26, 2013

HMS Race Horse Build Log - Day 15 to 22

Day 15 to 22 - 12 Hours Work

It has been a while since the last post.. I was working on all the deck fittings besides the poop deck because I'll need to wait for my LED to arrive before I can start..

Windows
2 holes are cutted out, and the windows frames are added so that viewer able to see the interior through it.
Side Windows

Seeing Through

The upper half is painted Navy Blue too.
The same steps are carried on on the stern windows.

Gratings
I purchased extra gratings to fill up the empty space on my ship, it is set as the same size as the bombard base.
Gratings

Frame

Frame is also added with leftover walnut planks. the 'drain racks' at both side will hold the bombard shots!! :)

I've also made another 4 racks to put them besides the 2 bombards!

Rudder
Rudder with rudder hinges fitted. I did not hammer the nails, instead I used a long nose plier to push them in.

Rudder with Hinges

Bits & Pin Racks
This is the worst part of the week! 
In the beginning, I thought all the bits will be provided by the kit, carved and done!! Not until when I read the instruction of making all these bits... So, what the kit actually provide on this part is just a 500 *4 *4mm walnut strip!!

Making these really breaking  my limit...
Belaying Pin Racks

Parapet Bits

All of 4*4mm Walnut
As you can see here, there are parapet bits, pin racks, ladders and cat heads.. Some of them are not shot..
It's really time consuming... 
Patience testing at its finest!!

Metal Blackening & Bombards
This is my first time doing metal blackening, and it was fun!! :)
I used Blacken-it Metal Blackener as my solution, and it worked quite well!!

I made a mixture of 50 water and 50 solution.. hot and boiling water!! That's it!! :D
Hot water really help quickening the process, you can get an obvious result within a minute!! 
Before

In Progress

After!!
Yea.. the 2nd picture you're seeing right now is the result after 30 seconds!! Anyway, I still let them there for around an hour or a half. 

I actually did it twice, because the first attempt did not give a very satisfying result (rusty feel). On my second attempt, I made mixture of 40 water, 60 solution, and the 3rd pic is the result I get. :)

Bombard Completed

Hatch
The hatches at the poop deck.. I added nails as door knobs. 
Hatches

With all these deck fittings done, I can finally put them on my ship.. It's how it looks now!!

Deck Fittings Done

Bombards with Shots

Again, the poop deck is not glued yet, I just put them on for few shots.. still waiting my LEDs to arrive.


-End-