Bulwark Planking & Gratings
If referring to the HMS Unicorn (1824), the bulwark is painted to ocher green. But, since I don't have any green paint currently, I decided to paint them to red.


Then I started to drill holes for the eye bolts. I used an unused piece of plywood for more precise distance marking from the gun port.


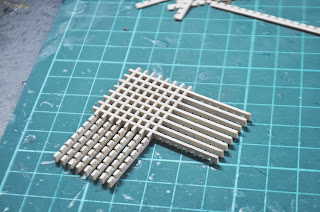

For the surrounds, I used 2mm x 3mm wood strips.

This is how my deck looks like now with gratings and ladder on. :) Also, treenails detail are added. I'm using the same technique as my Race Horse, which is chalked by using a mechanical pencil. :)


I did some sanding and tapering on the lowest plank to meet the deck's level, and pre-cut those wood strips between gun ports.


After the planking is done, I repainted them for a better finish. From the picture below, you can see that the beams are actually done too. Corel suggests to use the kit provided birch wood strip (4mm x 4mm), but instead, I used balsa. Birch strips are too nice for beam. :D

Then I started to drill holes for the eye bolts. I used an unused piece of plywood for more precise distance marking from the gun port.

Done! And you can also see that the remaining deck planking is done too. :)

I continued to the gratings making on the same day. Gratings that provided by Corel is real bad in quality, so I purchased OcCre ones to replace them from CMB.
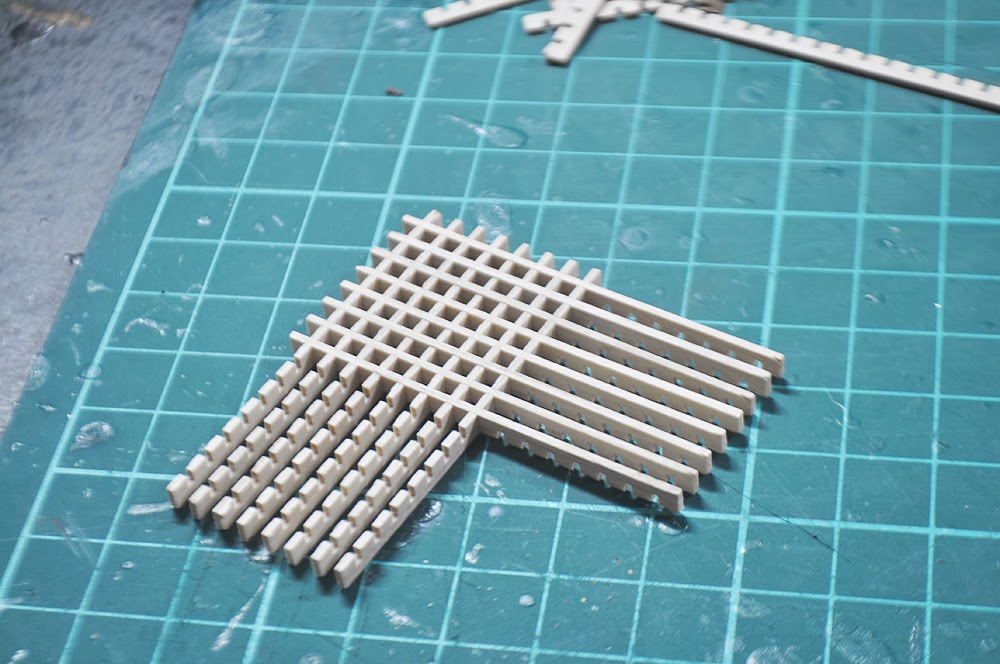

For the surrounds, I used 2mm x 3mm wood strips.


Thanks for viewing. :)


