Saturday, November 14, 2015

Halcon Build Log - Deck Planking

Deck Planking

Before I start on the deck planking, I added strip surrounding the gun port to cover the ugly base plank, and painted them red together with the bulwark.


To make the deck planks easier, I made myself a simple jig so that I can cut them in better accuracy. I'm using maple on this, and made them 8mm in length, 2mm stagger, 3 butt system.


Then I started planking, with the aid of these pins. I also chalked the borders of the planks.


I did not take too many photo on my deck planking, but the whole process went smooth. This is what I get after some days... Photo below shows only left those planks at the sides which need to be custom made.


Done, and added a strip at the end.


Then I continued to the rails. I used the ones provided but the kit, and painted them black.


They weren't very perfectly fit to the shape of the ship, I forced them slightly with the aids of clamps, and weights... lots of them. :D


One side done.

Now the other side.


Stern rail added.

Now I can say that the ship body is basically done. :)


Tuesday, November 10, 2015

Halcon Build Log - 2nd Layer Planking

2nd Layer Planking

Before I can continue to the planking, I will need to put the stem, keel, and stern post on. Anyway, the stem piece isn't perfectly fit to the bow, so I spent some times filing it.


And now with the keel and stern post.


Looked good, and glued them on.


Then only I started on the planking. I started on the flat, easy stern planking first.


Then I continued to the wales, which as instructed is to follow the deck line. I dipped them in to boiled water first, for like 5 minutes, then bent one side which will land on the bow. I used 2 * 5mm strips for the wales.


I then painted it to black with the aid of masking tape.


The rest of the planking can start now...


Garboard plank


Space for stealer plank.


Stealer/Drop plank.


Final step.. making 'customized' stealer planks


Done! This is how it looks after fine sanding


Added bulwark planking too.


The whole process took me at least 2 weeks, but I can sure it was fun. :D

Monday, November 9, 2015

Halcon Build Log - Filling, Sanding & Making Gun Port

Filling & Sanding 

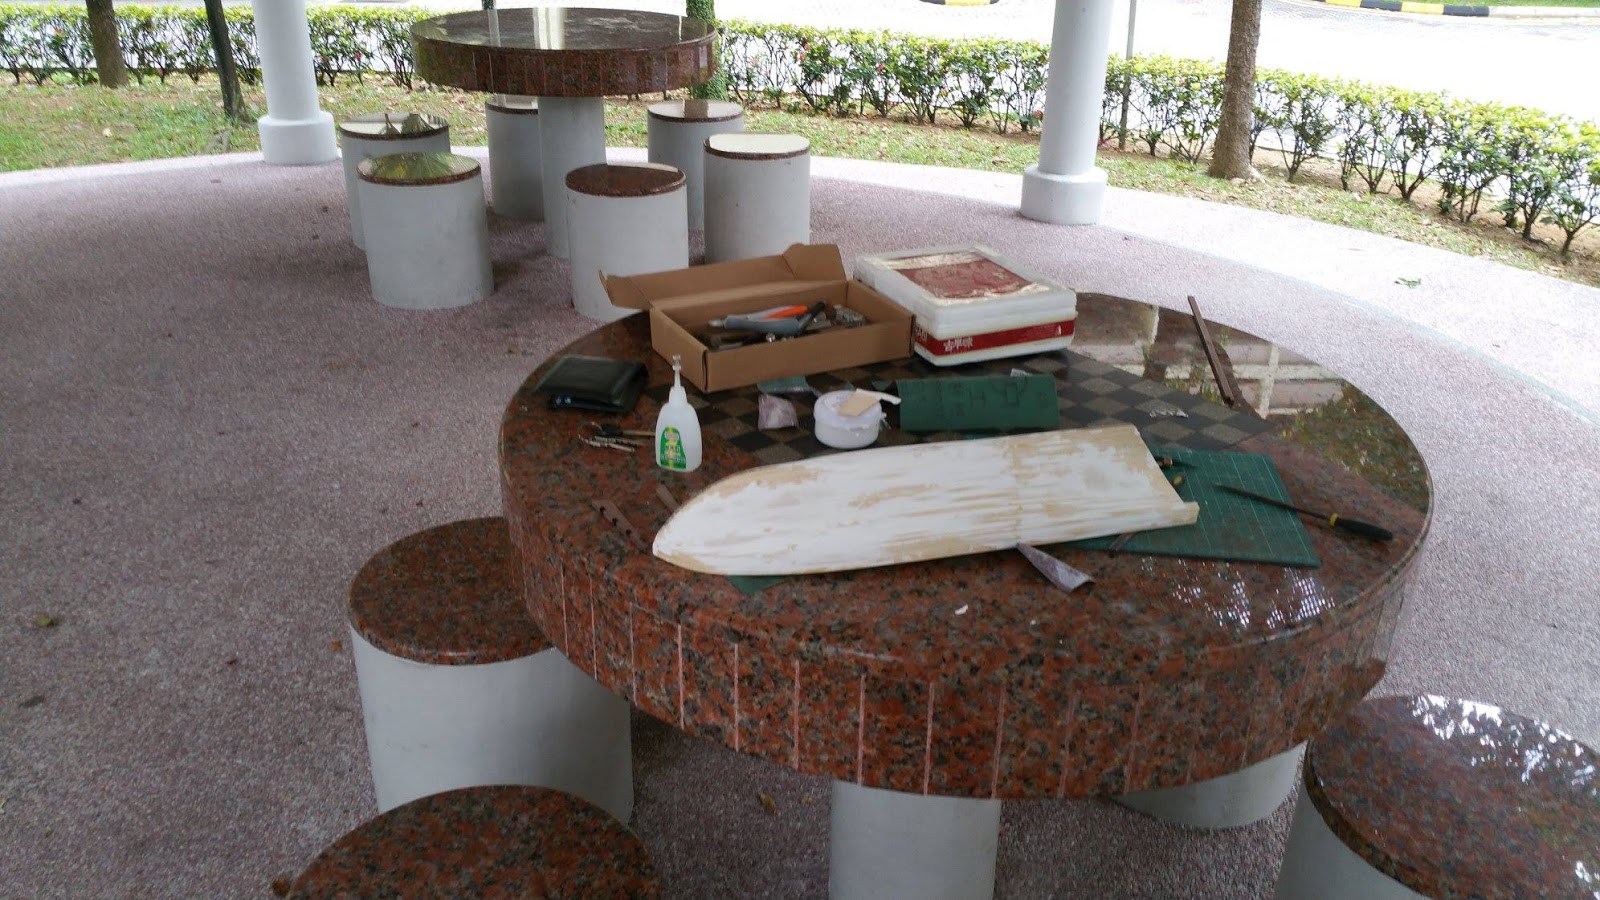
Due to limited space in my room, everything time when I do 'big' sanding process, I have to do it outside. I'm using normal wood putty on touching up the 1st layer planks.


I applied the putty on the whole body, and let dry for like 5 minutes...


It's really kinda awkward working outside... :P


It didn't take me too long on filling and sanding, just around a morning. 

Making Gun Ports

The kit provides wood pieces on guiding the gun ports size. It helps a lot on marking them.


Marking gun ports...


Cut out :)


And now it looks like a ship.


One mistake on this kit is that the length of the strips is not matching the length of the ship's body, just around an inch different. I glued this piece like this at the stern, and it will 'strengthen' later when the bottom part is planked.


A clearer side view shows how the 'extended' piece is supported. The stern post here is just added temporary to check its size.


Filling the stern..


So, all the base layer sanding and filling are now basically done, and the 2nd layer planking can be started soon! :)